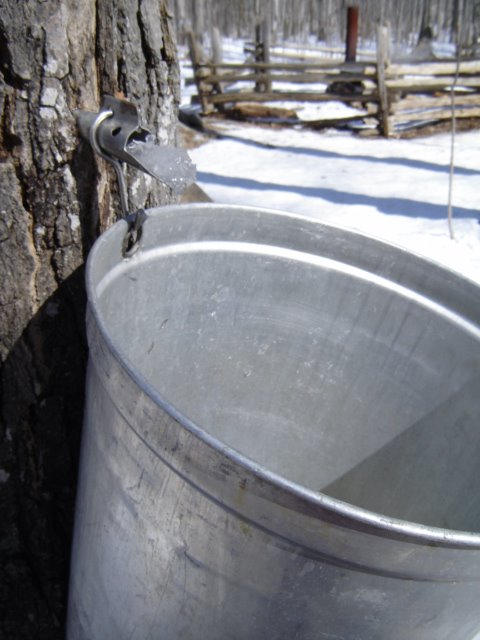
The theme for this month's Sugar High Friday is dairy. When I was deciding what to contribute, I thought about cheesecake or some type of custard. While these desserts are great, I don't usually have the opportunity to make fancier treats unless a special event pops up. Because of this, I chose to make
Citrus Lace Cups from
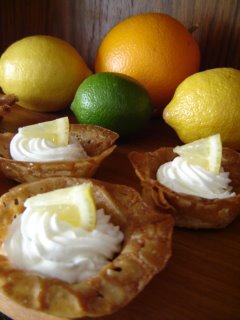
Wanda's Pie in the Sky. These fragile little confections consist of a thin crisp almond cookie that is shaped and filled with a cream cheese citrus mousse.
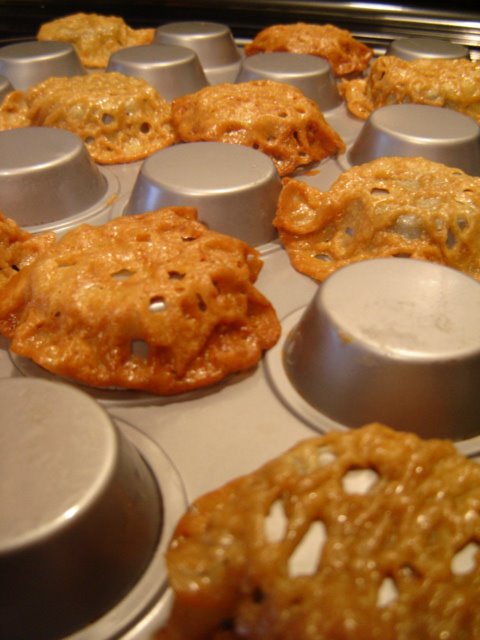
The recipe itself is not hard to prepare and has two major steps: making and shaping the cookies and preparing the filling. The cookies spread a lot in the oven and when they come out they have to be quickly draped over a mini muffin tin to create a cup shape. (see below) They can also be shaped around a wooden spoon handle and I will try that another time.

The mousse is where the dairy component lies. It's a mixture of whipping cream, cream cheese, orange, lime and lemon rinds, sugar and lime juice. Once combined, I scooped it into a pastry bag and filled the cups. The cookie remains crispy and sweet which is a nice contrast to the smooth citrusy tang of the mousse. If left filled for more than 20 minutes, the cookie softens and is less likely to crumble on you when you take a bite. Either way, they're lovely.
My taste testers all agreed that the cups were a great treat and appreciated the refreshing citrus flavour. Some were even surprised to find there was cream cheese in the mix because it was so light and fluffy. Thanks to Andrew at
Spittoonextra for hosting this month's extravaganza.
Citrus Lace Cups
From: Wanda's Pie in the Sky
For the cups:
1/4 cup butter
1/2 cup brown sugar
1/4 cup corn syrup
1/2 tsp vanilla extract
1/2 cup pastry flour
1/2 cup almonds, finely chopped
For the filling:
1 1/2 cups whipping cream, chilled
12 oz. cream cheese, softened (about 1 1/2 packages)
1 cup granulated sugar
2 tbsp lime zest
1 tsp lemon zest
1 tbsp orange zest
1/3 cup lime juice
2 cups fresh raspberries (optional)
candied orange peel (optional)
For the cups: Preheat oven to 375 F. Line cookie sheets with parchment paper. Combine the butter, sugar and corn syrup in a medium saucepan. Bring to a boil over medium heat, stirring occasionally. Remove from the heat and stir in vanilla. Combine the flour and almonds and add to the sugar mixture. Drop by teaspoonfuls 3 inches (7.5 cm) apart on the cookie sheets. Bake for 5-6 minutes, until golden brown. Remove from the pan while still hot and use a spatula to drape over the back of a mini muffin pan to create little cups. It is important to work quickly before the sugar hardens. However, if it does harden, pop the pan back into the oven for a minute to make it pliable enough to continue. Let the cups cool completely.
For the filling: Using an electric mixer, whip the chilled cream until stiff peaks form. In a separate bowl, beat the cream cheese with the sugar, the lime, lemon and orange zests and the lime juice until light and fluffy. Gently fold in the whipped cream. Using a piping bag and star tip, pipe the filling into the cookie cups. Assemble within 20 minutes of serving to maintain crispness. Garnish with raspberries and orange peel, if desired.
Makes 24 cups
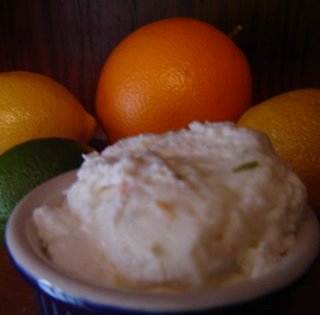
The filling with flecks of lime, orange and lemon zests
SHF #17
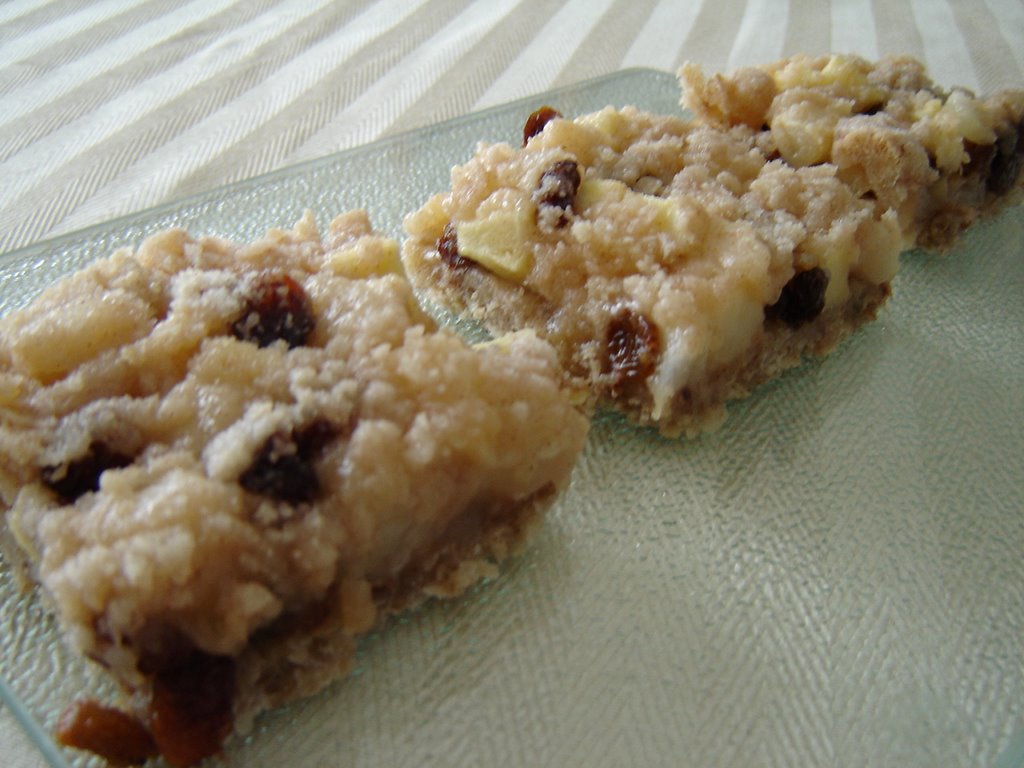
 During my end-of-week pantry clean out I was determined to use up some open packages of dry goods. I found some sultana raisins languishing in the back and a half-full jar of applesauce in the fridge. My solution? Make a super easy, quick and yummy apple cake.
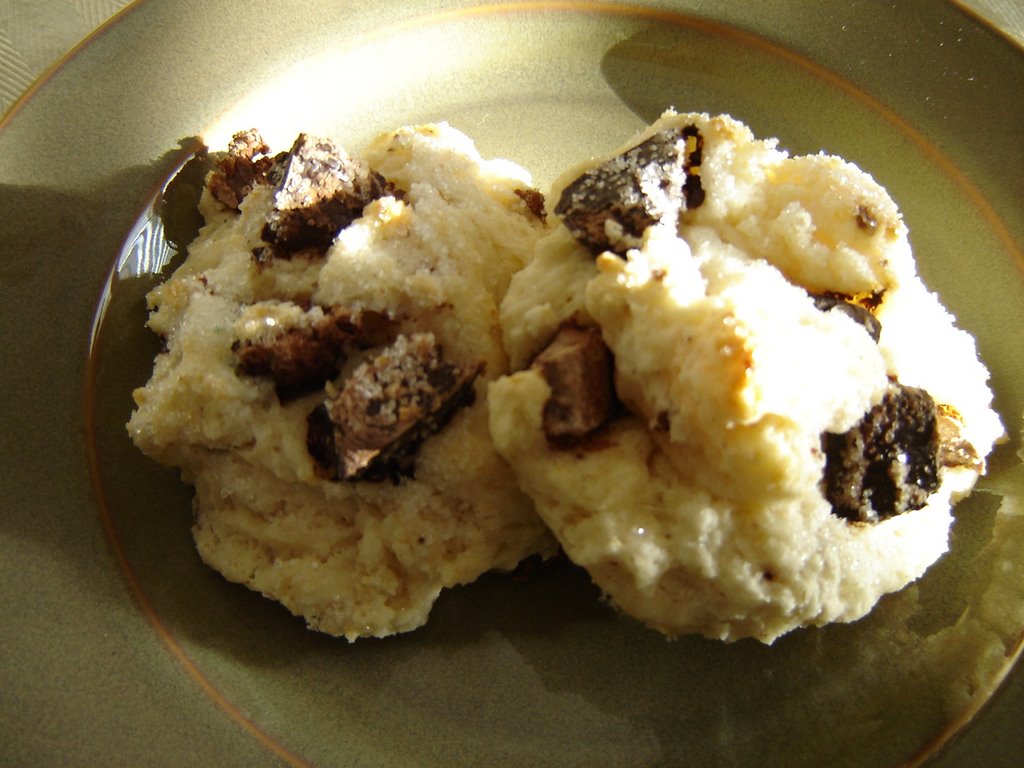
 Yesterday Elizabeth had a get-together for The Girls. It is not something we get to do often since some friends travel all the way from St. Catharines to get here. I provided cookies for the party and made Toffee Pecan Cookies from