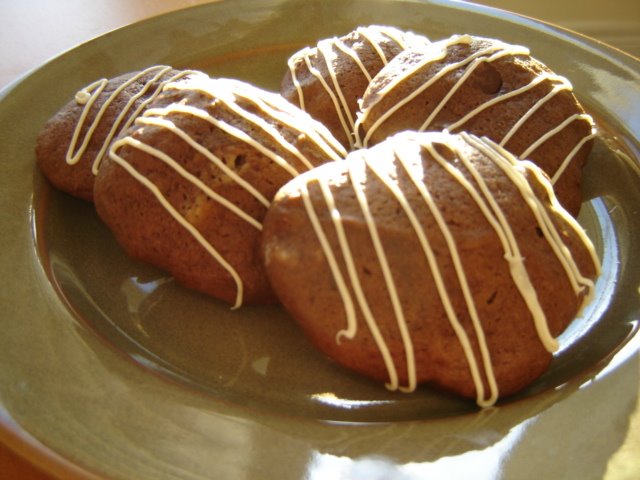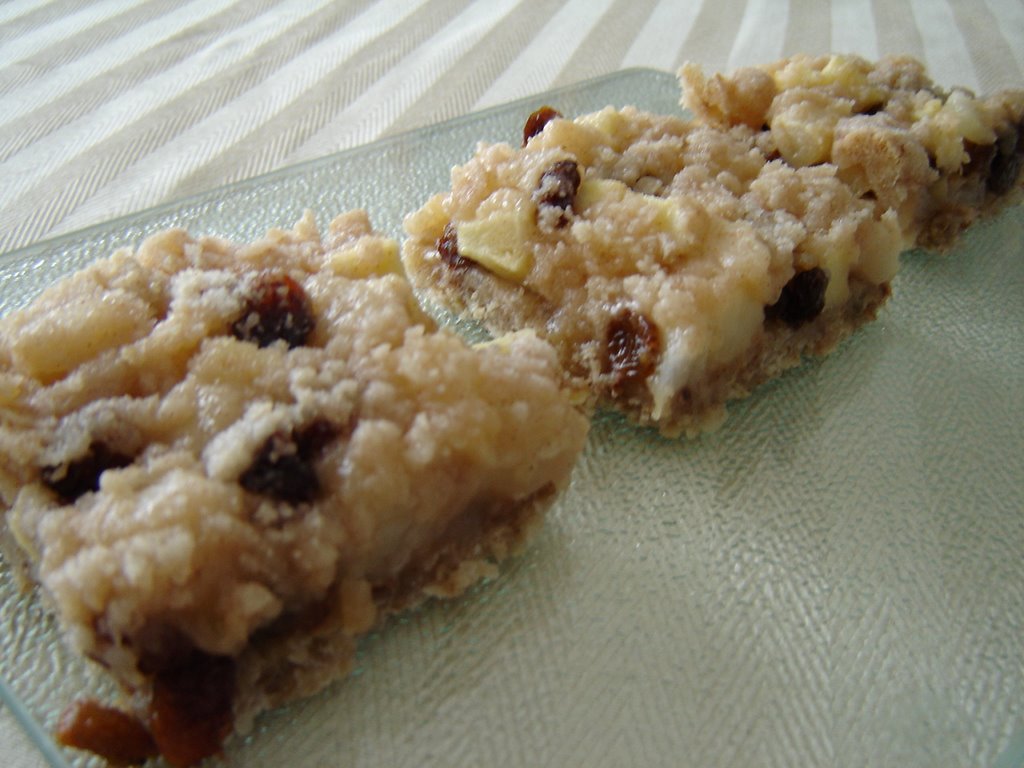
Pear Raisin Streusel Bars (low fat)
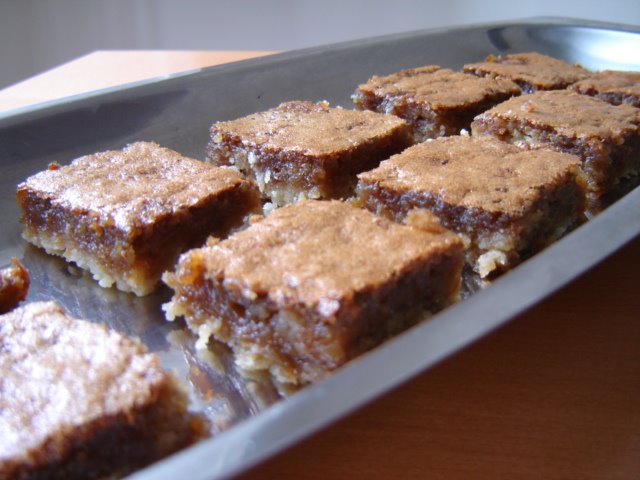
Butter Tart Squares

Cream Cheese Raspberry Brownies
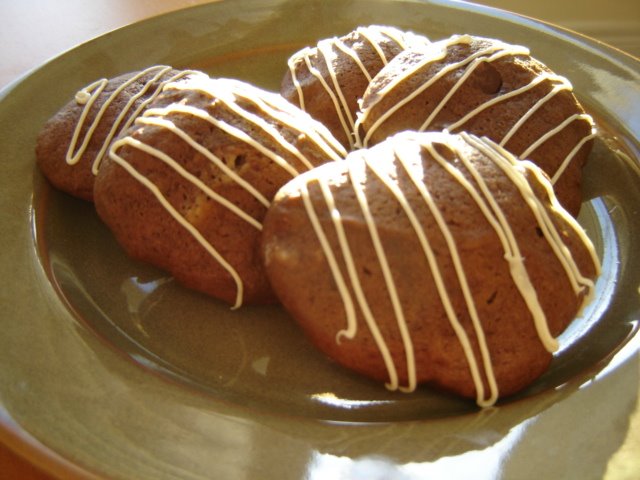
Triple Chocolate Devil Drops
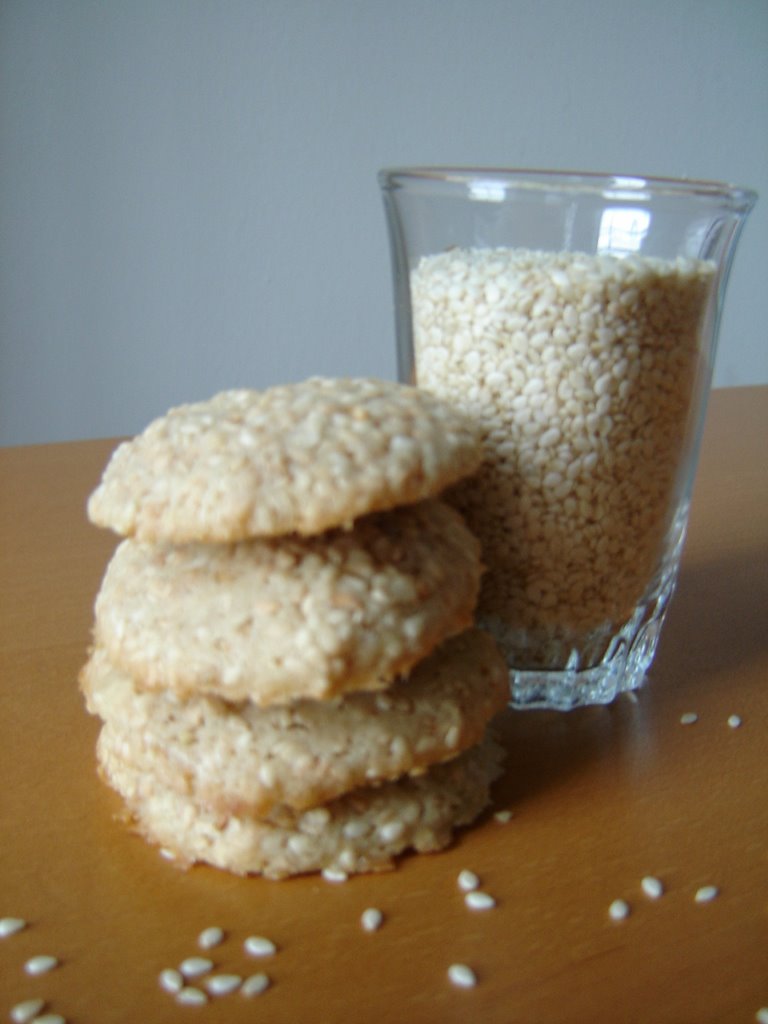 What are benne seeds? Sesame seeds by another name. They came to America from Africa and the Nigerian name for them, "benne", stuck. Today, benne wafers--thin cookies/crackers made with sesame seeds--are closely associated with Low Country cooking, a style of cooking centered in Charleston, South Carolina. And they're often served at Kwanzaa too. From James Beard
 During my end-of-week pantry clean out I was determined to use up some open packages of dry goods. I found some sultana raisins languishing in the back and a half-full jar of applesauce in the fridge. My solution? Make a super easy, quick and yummy apple cake.
 Yesterday Elizabeth had a get-together for The Girls. It is not something we get to do often since some friends travel all the way from St. Catharines to get here. I provided cookies for the party and made Toffee Pecan Cookies from The Good Cookie. This cookie is of the drop type and includes three eggs which mixes up into a soft batter. I wasn't sure how they would turn out but the lure of toffee and pecans together had me itching to try.
 Recipe Update - If you would like to try the Chocolate Raspberry Crumble Bars with white chocolate chips, try prebaking the crust before adding the jam and chips. I did not do this and the white chips ended up looking like butterscotch ones after 40 minutes. They were still good to eat and I dressed them up by adding a drizzle of white chocolate.
 I seemed to have an abundance of super-ripe bananas on my counter over the past few days and I wanted to make a cake with them. I pulled out an old recipe binder and found the tab called 'Nick Malgieri'. As I looked through what I had, the recipe for Cocoa Banana Coffee Cake caught my eye. I had all the ingredients and the cake was what I was looking for - a no fuss Bundt that packed a chocolate punch and used 4 bananas. We were in business.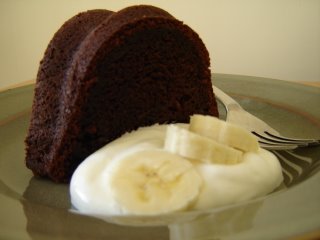
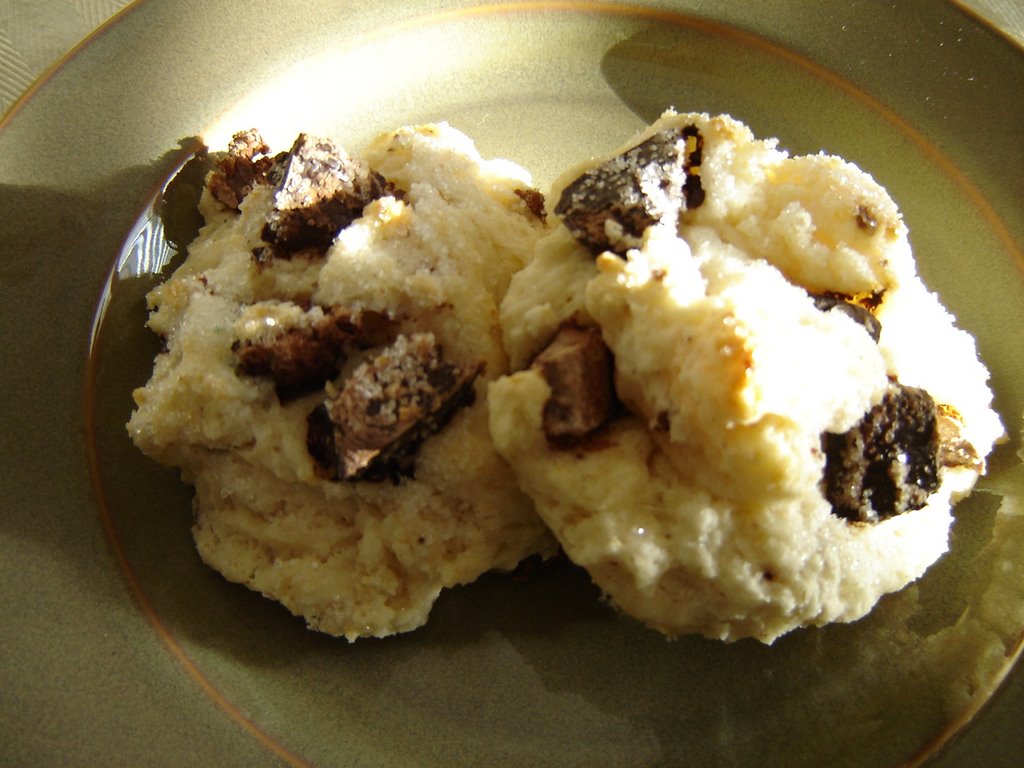 Tea biscuits, or scones, are another favourite treat in our house. They in no way resemble the rock-hard variety that can be purchased at the local grocery store. The great thing about scones is that they can be tailored to suit everybody's tastes. Mr. CB likes his with chocolate chunks and since I had some leftover from Triple Chocolate Chunk Cookies, I obliged.
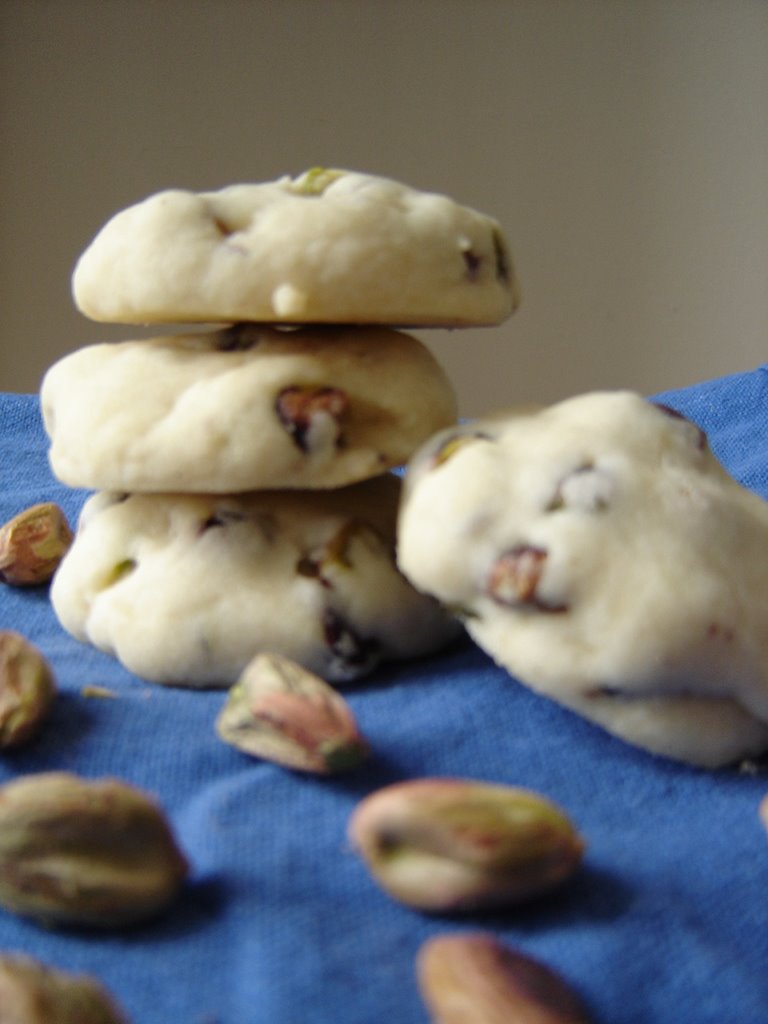 I've always loved shortbread. The beautiful simplicity of mixing butter, sugar and flour together to get a crumbly melt-in-your-mouth cookie amazes me. It is an uncomplicated, international buttery morsel that can be dressed up in a whole lot of different ways.
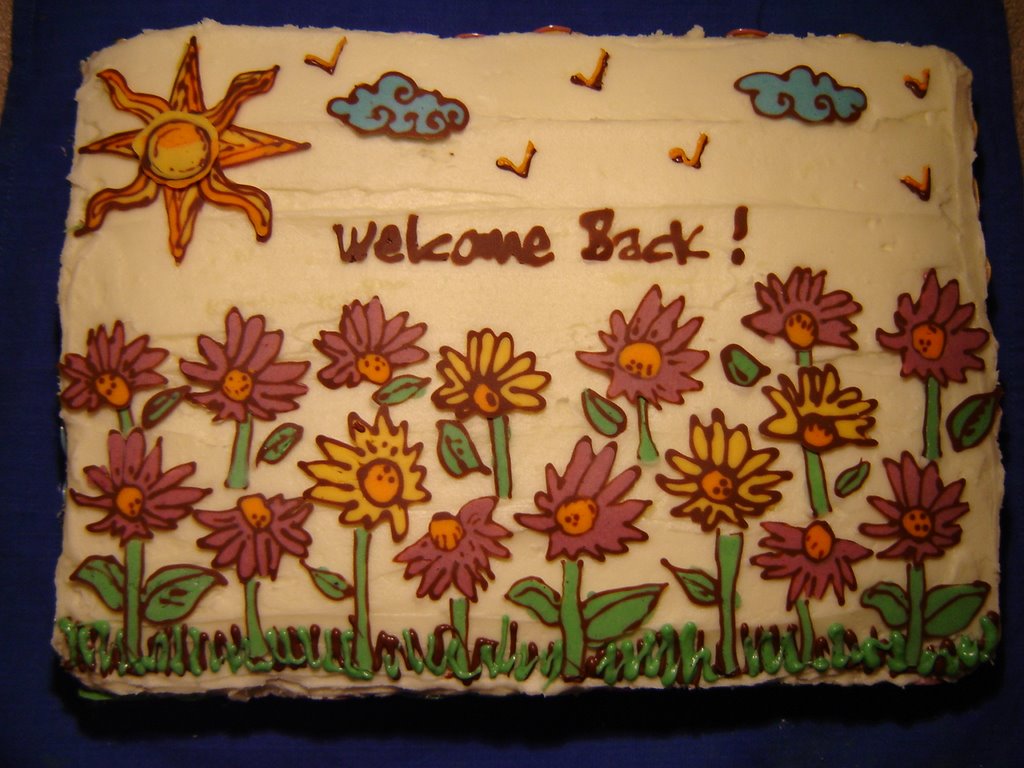 Today long-time friends who live overseas came back to Canada for a visit. This was very exciting since I haven't seen them in 3 years. My neighbour Elizabeth (who happens to be the sister of one friend) asked me to make a carrot cake for dessert. I happily obliged and iced it with cream cheese icing. The big decision was how to decorate it. Elizabeth said she wanted chocolate flowers so I said no problem. While I was at the library this morning I was looking through the cookbook aisle and saw The Whimsical Bakehouse. I had already looked through this book before and I knew they used melted chocolate to make designs. I took it home for inspiration.
A couple hours later this was the final product. I apologize for the poor picture quality but the Ontario skies did not co-operate with me and remained cloudy all day. The flowers, sun, stems, clouds and words are all melted and tinted white chocolate wafers. I drew the pictures out on parchment paper and traced them with the chocolate. I piped the grass on afterwards as well as the ubiquitous "V" birds most commonly seen in grade 5 drawings. It was great fun working with the melted chocolate. You can pretty much make any design your heart desires and hopefully I'll get better the more I try. I'm waiting in anticipation to do it again soon...its much easier to snack on chocolate wafers than buttercream icing.
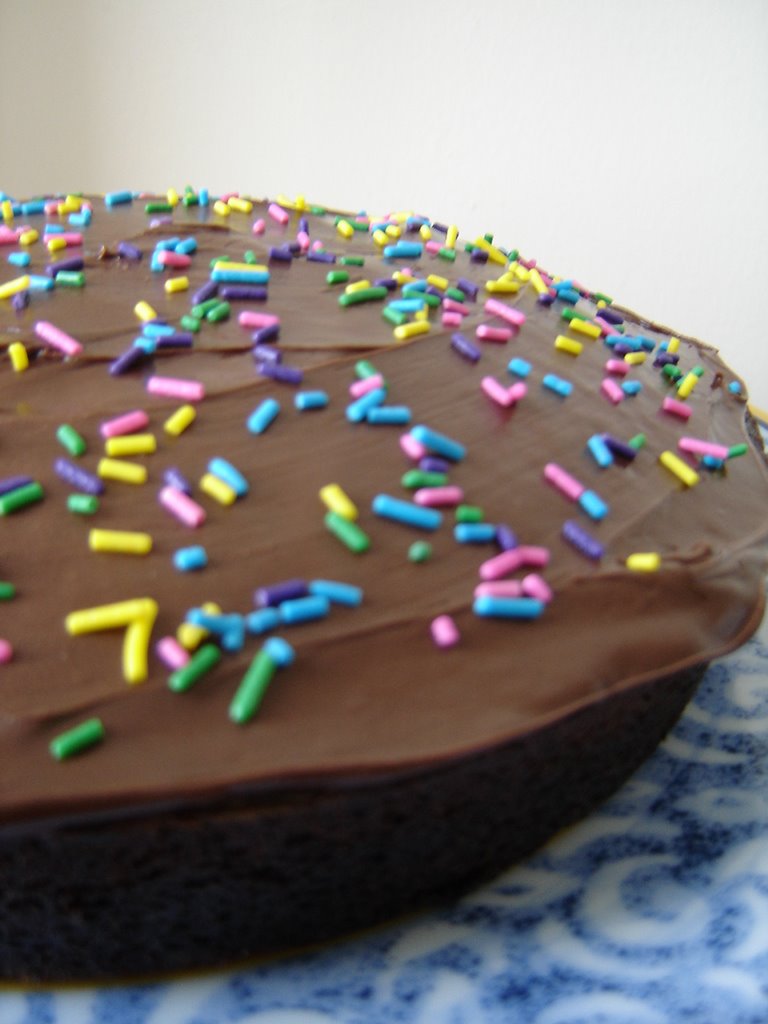 My little neighbour Y loves chocolate cake. He's a four year old chocoholic in the making. Whenever I'm visiting his house he always asks for it even though he knows there isn't any around. He sits patiently at the kitchen table with such a hopeful look that I always want to make one magically appear just to make him happy and smile. This morning I made him his very own chocolate cake complete with sprinkles. I also told him that he didn't have to share it with anyone but his mom vetoed this idea - I'm apparently supposed to encourage sharing.
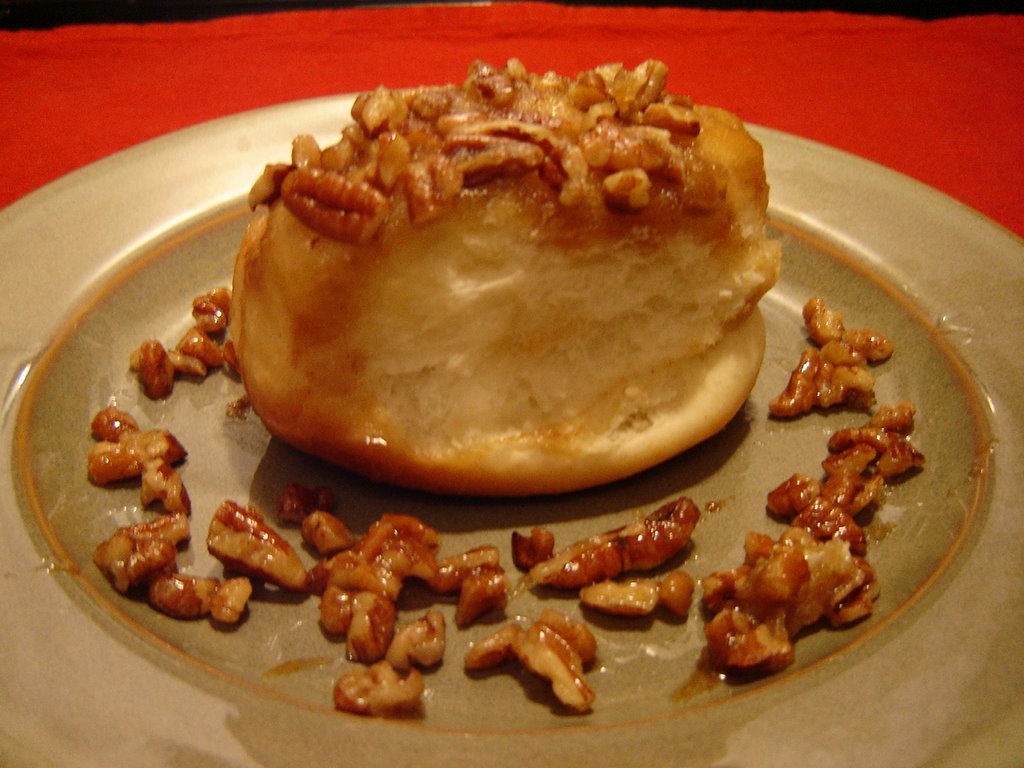 What do you make at 9pm on a Sunday night when your household is looking for a sweet treat? Nothing too involved, right? Well not at my house. We whip up homemade pecan sticky buns just like that. After much begging from Mr. CB and several incredulous looks from me as well as many "Are you serious?" statements, I relented and got the goods out and went to work with the promise of getting help in the kitchen. (When I did ask I got, "Really? I didn't actually mean help, you know?") Right.
 Last night my sister had some friends over for a small get together. Everyone usually contributes to the food stash and we decided to make hot artichoke dip for something savoury and ultra yummy triple chocolate chunk cookies for the sweet.
 I was debating whether or not to bake something today. I really didn't need too but then when friends called to come over it was all the motivation I needed to whip up this tasty treat.
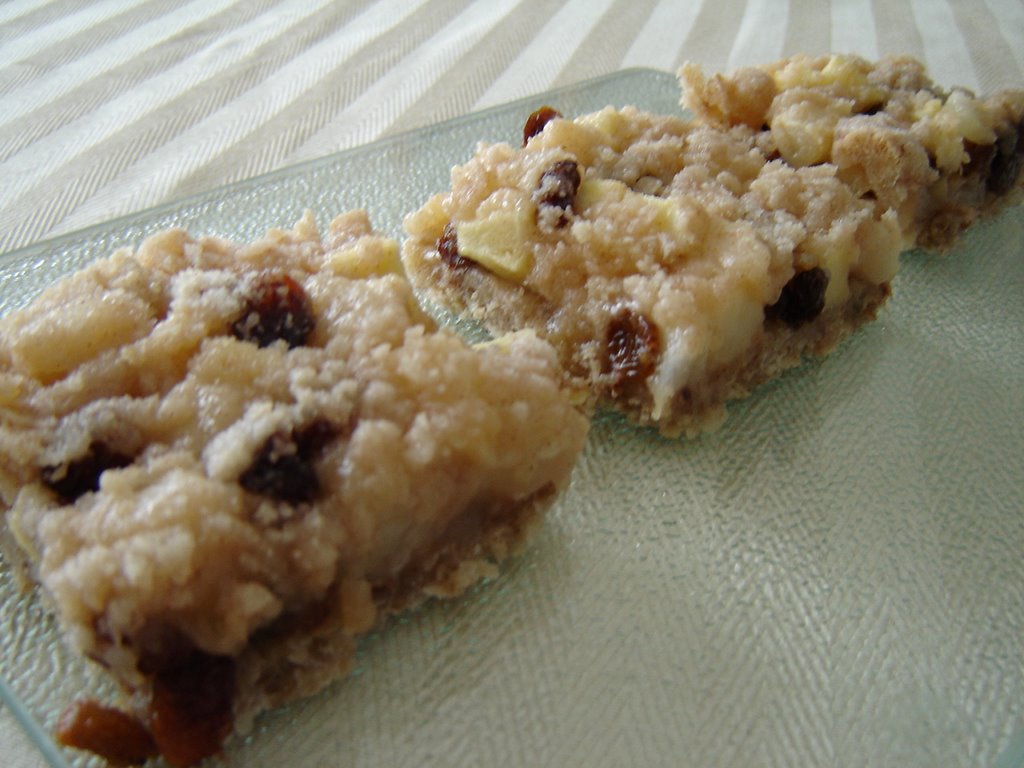 I had very ripe pears sitting on my counter since yesterday that were beyond eating. They were brown and slightly mushy but I knew they could be transformed. The only thing to do with them was bake them into something exciting so I looked around for a recipe that made something small since I only had two.
Well, I looked in Divine Indulgences on a whim. I haven't used this book in a while but had a feeling it might have something appropriate since the recipes do not make large quantities. I found Pear Raisin Streusel Bars and I had all the necessary ingredients so I went to work.
The base was baked for 10 minutes before the pear/raisin filling and streusel went on top. (I have to confess, I added one chopped apple because I was just shy of 2 cups) After 25 minutes I had some nice bars that are similar to a crisp-type dessert. They smelled great and cut into bars perfectly. They would taste even more yummy with a scoop of vanilla ice cream. Also, I was all the more impressed since this is a low-fat recipe that replaced some fat with water. (I don't do a lot low-fat baking.) This caused the bars to be less crispy and brown than a full-fat bar but still tasty. You can check out other low-fat dessert options at Rose Reisman's website.
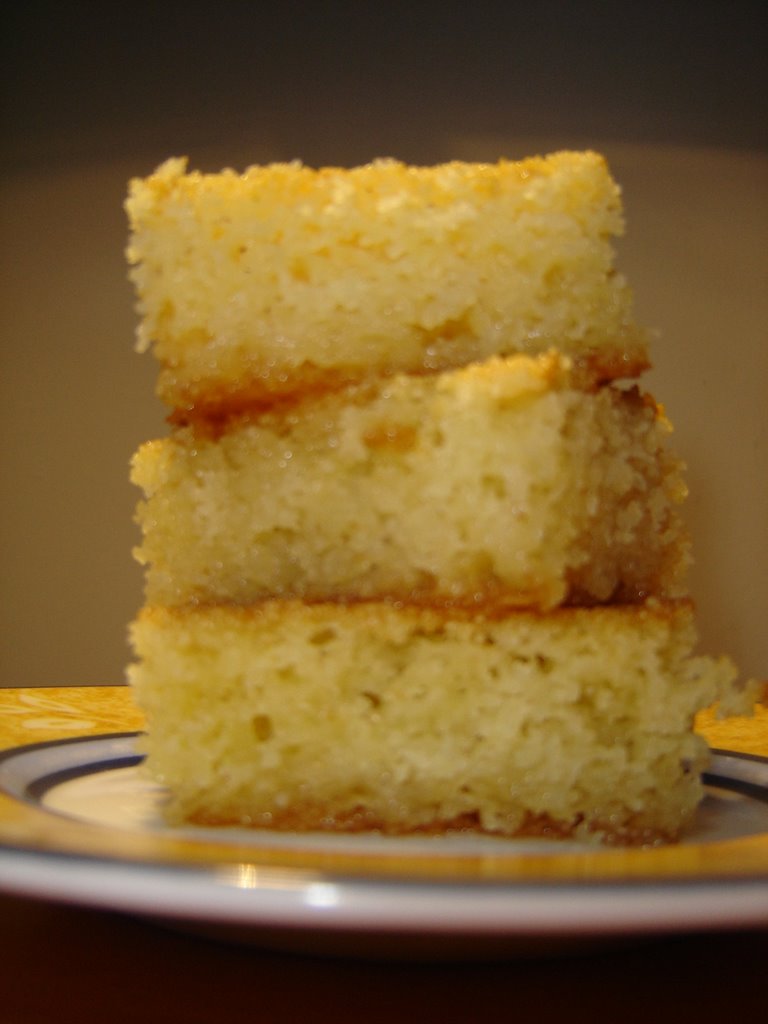 Over the weekend, I had my family over for dinner. None of them are big sweet eaters although my aunt does a fair amount of baking herself. I knew I needed to serve something for dessert that would go nicely with tea and coffee and wasn't too over the top so I decided on this semolina cake. I had made it before successfully and, although there is a sugar syrup poured over the hot cake, once cooled the sweetness of the sugar mellows considerably.
 The theme for this month's Sugar High Friday is dairy. When I was deciding what to contribute, I thought about cheesecake or some type of custard. While these desserts are great, I don't usually have the opportunity to make fancier treats unless a special event pops up. Because of this, I chose to make Citrus Lace Cups from Wanda's Pie in the Sky. These fragile little confections consist of a thin crisp almond cookie that is shaped and filled with a cream cheese citrus mousse.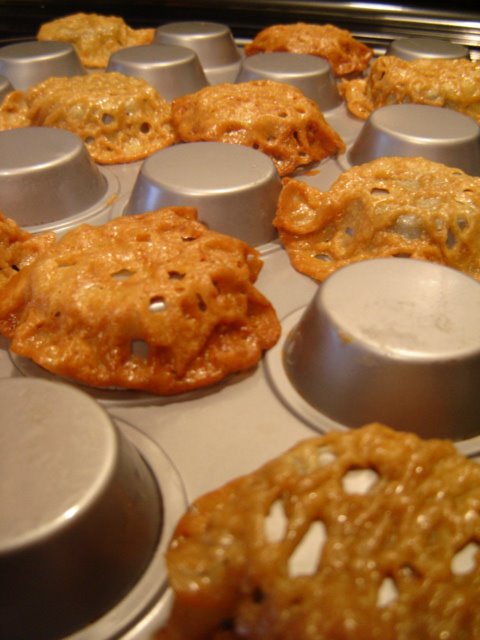
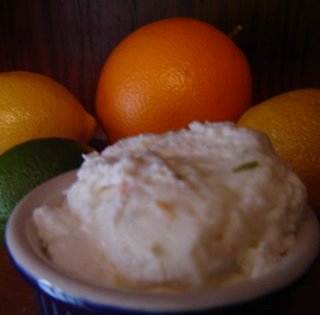
 Last night we were having lentil soup for dinner and I wanted to make some sort of bread to go with them for dunking. Since it was already late, I didn't have time to do yeast rolls so I decided to go with a savoury drop biscuit. As I was looking for a quick recipe I came across these buns.
 If you like chocolate cake, these are the cookies for you. Made with cocoa powder, sour cream and studded with semi-sweet chocolate chips, these cookies are soft, moist and cakey.
The batter is similar to the banana cookies I made last week. It is soft and not scoopable. I made these cookies a little bigger and they baked for 12 minutes. The white chocolate drizzle is part of the recipe but can be omitted if you like -these cookies are completely tasty on their own.
The recipe comes from The Good Cookie and is one of the easier cookies to make. (Perfect for beginners.) They pack a solid chocolate punch and are satisfying when cravings for a dense, fudgy cookie sneak up in the middle of the night.
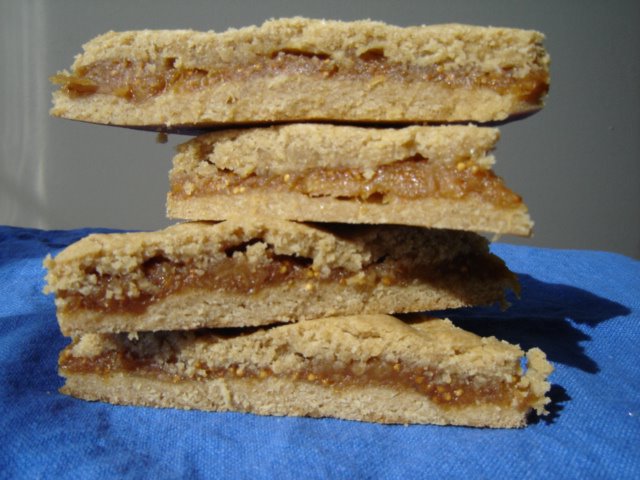 "Packed with flavour, these golden bars sandwiching a fig puree are similar to (but a lot better than) their store-bought relatives." This is the intro written about these bars by Canadian Living and I can agree that they are quite tasty.
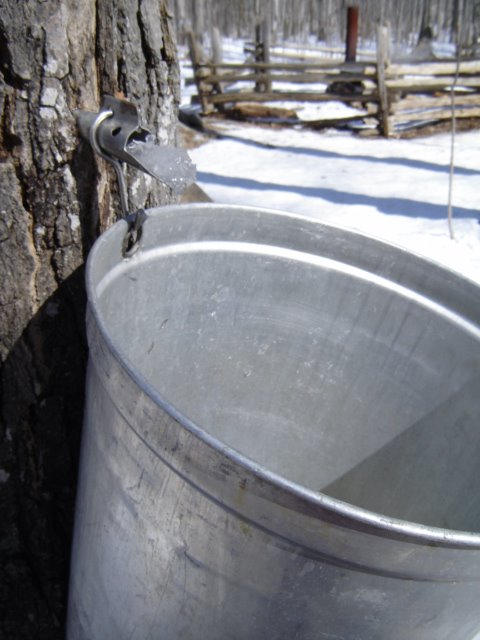 It's maple syrup time in Ontario and the sap is flowing. Having grown up here, I have been on numerous memorable school trips to the 'sugar shack' to learn about the maple syrup process. On a recent visit to Mountsberg Conservation Area, we enjoyed a full afternoon doing just this. Maple syrup is a Canadian staple product that can be used in baking as a sweetener or poured on top of ice cream, waffles and pancakes. It has a distinct flavour that no store-bought pancake syrup can compare.
 The process for making maple syrup is time consuming and directly affected by the weather. Warm sunny days and frosty nights are perfect for sap flow. To begin, maple trees (there are many types) are tapped with a spile and a bucket is hung to collect the sap. Once enough sap is obtained, it is poured into an evaporator and heated until the sugar content is about 65%. Sap is colourless and, as it boils, it becomes more amber in colour. This colouring determines what grade the syrup is - lighter is not sweet and too dark is only used for baking. Medium amber is best and is what can be found on the grocery shelf. Larger producers will have the trees linked up by tubing that flow into one central container to minimize collecting times. In the days before modern technology, sap was poured into large pots and boiled over an open fire. 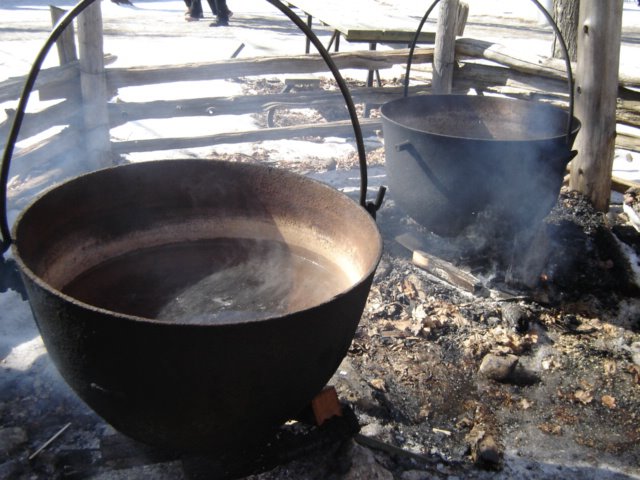
Since I'm no expert, this is a just a watered down version of the syrup process but for a more detailed and scientific explanation visit Canadian Maple Syrup where you can also read about the history of maple syrup as well as some interesting facts.
I've used maple syrup in cookies and it lends a lovely sutble maple flavour to the finished product. It can also be used to flavour frostings and glazes. Due to its production process, maple syrup is expensive and rightfully so. It is a reflection of the Canadian spirit where something so simple can be transformed into something truly wonderful.

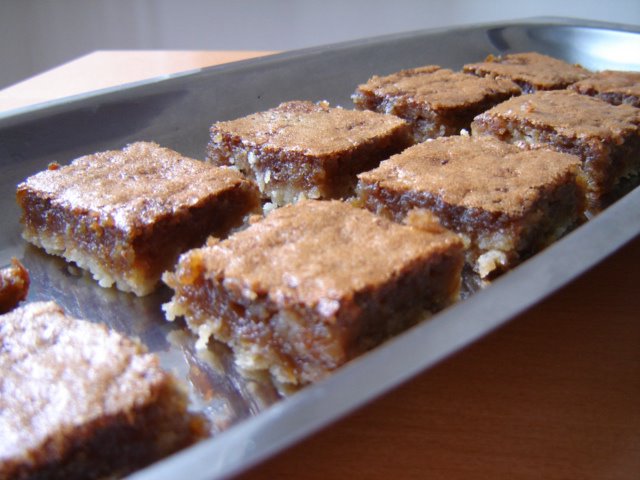 Butter tarts are probably one of the Canada's most popular homegrown desserts. According to Wickipedia, butter tarts were a staple of pioneer Canadian cooking, and they remain a characteristic pastry of Canada, considered one of only a few recipes of genuinely Canadian origin.
 Butter tarts can come in a multitude of variations and most Canadians have a favourite. They can be made plain or enhanced with chocolate chips, nuts or raisins. The shortbread pastry is topped with a filling consisting of butter, eggs, brown sugar, corn syrup, vanilla and vinegar. Of course, as with all other recipes, there are many adaptations with regards to ingredients. Some people like their filling gooey so that sweet syrup drips down the chin while others prefer their filling a little more set. To prove that Canadians take their butter tarts seriously, check out "What makes a great butter tart?" at the CBC website.
The version of the butter tart I made are actually squares and come from Wanda's Pie in the Sky. They're an easier and faster take on the tart but their essence is the same. This version bakes up handsomely and has a good balance of butter pastry and toothsome filling. I made these plain and they are really at their best at room temperature or chilled in the refrigerator. They are rich, smooth and perfect with tea. A great Canadian treat.
 Whenever I have a ripe banana on the counter I always get a request for banana cookies. These cookies are a favourite around here so I make them quite often. I found this recipe years ago in the Treasury of Desserts and initially made them because you only need one banana and they are quicker to make and bake than banana bread. They turned out so well and were enjoyed by eveyone that now I could not imagine ever not making them.
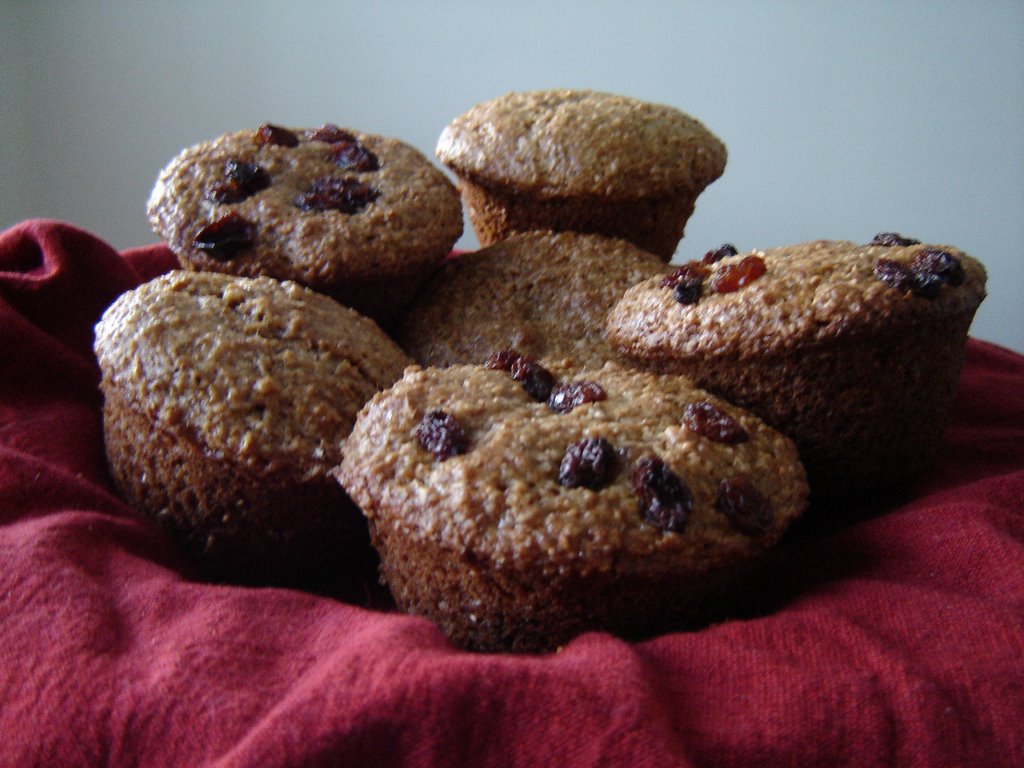 Muffins are ideal for packing in lunches. They're hearty, the variations are endless and they also freeze well so, in theory, you can have muffins all the time. The fantastic muffins I made are yogurt bran and come from Canadian Living. (The exact recipe is not on the website but there are many other bran choices.) The recipe is very easy to put together and the calls for 1 cup of yogurt and a hint of cinnamon. The batter is totally scoopable and has a light, springy texture. Adding raisins is a personal choice, so I put them in half and the rest I left plain just so everyone was happy.
The muffins baked for 20 minutes and are light and not cloying as some bran muffins can be. I especially like them because there is no molasses added which, I find, can make a bran muffin heavy and overly sweet. The bran lends subtle texture to the muffins and most people are pleasantly surprised that bran could taste this good.
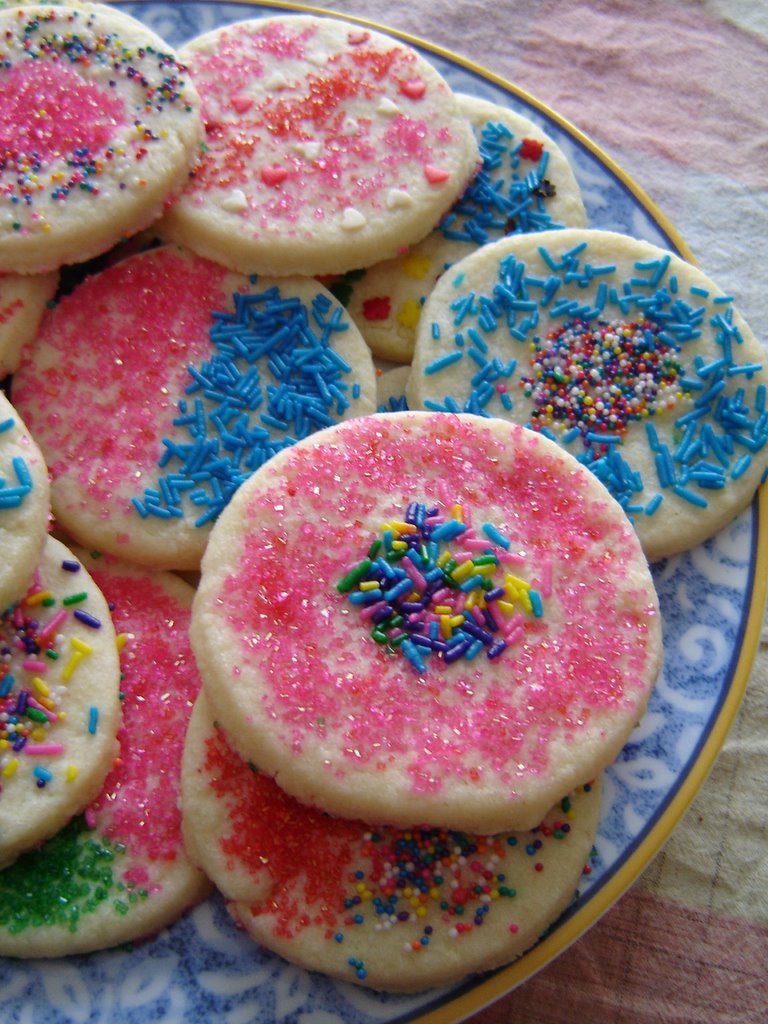 Sugar cookies are always a fun project to do with kids. Since weekdays are busy, weekends are perfect for getting creative with the sprinkles. Sugar cookies are considered a roll cookie which means the batter needs time in the fridge so that it can be rolled out later. The tried-and-true recipe I used is from Canadian Living and is your basic sugar cookie that can be mixed either by hand or mixer. Once combined, the dough is wrapped, pressed into discs and refrigerated for 60 minutes.
 Sometimes, even the best of intentions can get thwarted. Making this pear pecan cake today was a lesson in patience. After prepping the pan, preparing the ingredients and putting the cake in the oven to bake, I made some tea only to discover that my tube pan sprung a leak and my oven was smoking like crazy. After taking out the unfinished cake, I turned off the oven and waited for it to cool down before cleaning it up and putting the cake back in (on a cookie sheet this time). After 40 minutes, I checked and it was finished and nicely browned. I took it out, very relieved that it was not ruined.
 Going to the grocery store mid-February in Ontario will yield very little choice in the fruit department. The most abundant choice right now are apples - Granny Smith, Red Delicious, Golden Delicious, Royal Gala...the list goes on. (Although, finding a bag of Northern Spy apples can be a daunting task.) Ontario has numerous apple orchards and, in autumn, there are no shortage welcoming you to come "pick your own". Even though picking season is over, apples keep well in coolers so we see them looking fresh and shiny months later.
 I don't make oatmeal raisin cookies that often because I am seriously lacking one thing - people who love raisins. When I say 'raisin' I get turned-up noses and faces that looked like they just sucked on a lemon. No one ever says "Yes! I love raisins." so, I end up making a lot of oatmeal chocolate chip cookies instead. Today I decided to give raisins their due and try a recipe from Wanda's Pie in the Sky. The recipe is for a classic oatmeal raisin cookie, with no cinnamon added, just a whole lot of raisins. The cookies mixed and baked up wonderfully and took about 12 minutes to finish. They came out very nice - not too flat and not overly rounded. The raisins lend a nice chewiness to the crisp oat cookie. The are not too sweet and perfect for a day when the windchill makes it feel like -15 C.
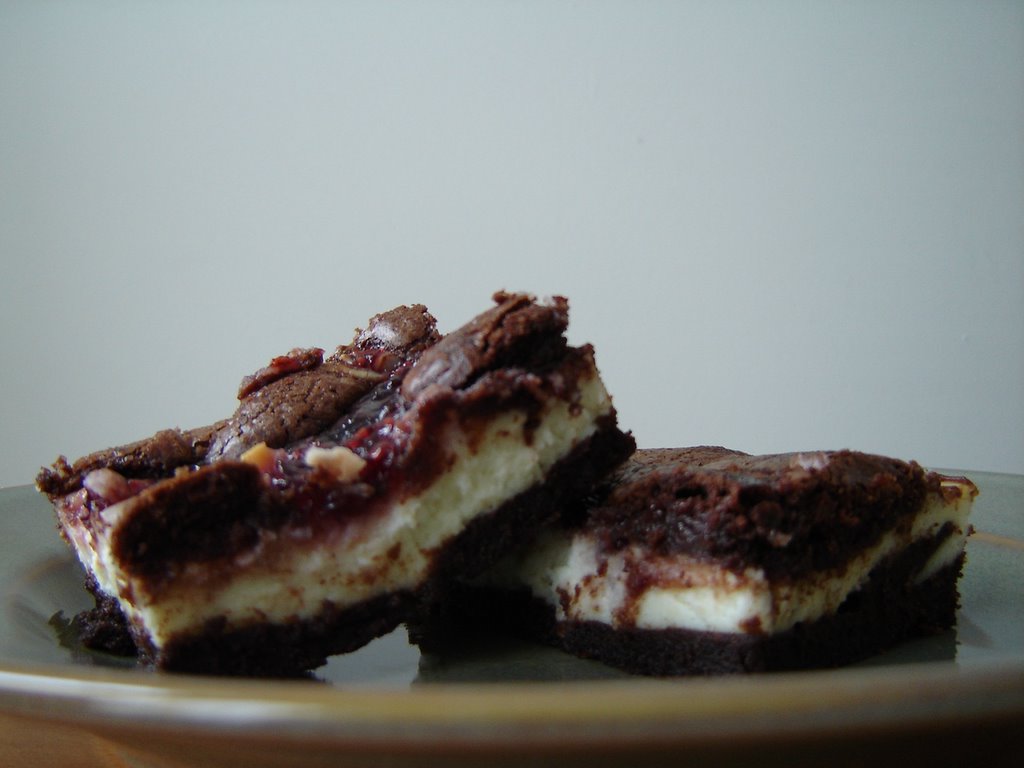 My sister and her friends are going up to the cottage this weekend. (15cm of snow and -2 C, so not bad) Each one of them is responsible for one day's worth of food, including dessert. She was told, "You can't let your sister make anything for you!" (cheating, you know), but when they heard what I was making, they relented. I love my recipe for these brownies. They come out perfect everytime - fudgy, creamy and fruity all at the same time. The chocolate brownie base is topped with a cream cheese mixture and to finish it off, dollops of raspberry jam and reserved batter are swirled on top. They are truly decadent, especially when you want something over-the-top satisfying. They are extraordinarily good chilled and eaten straight out of the refrigerator.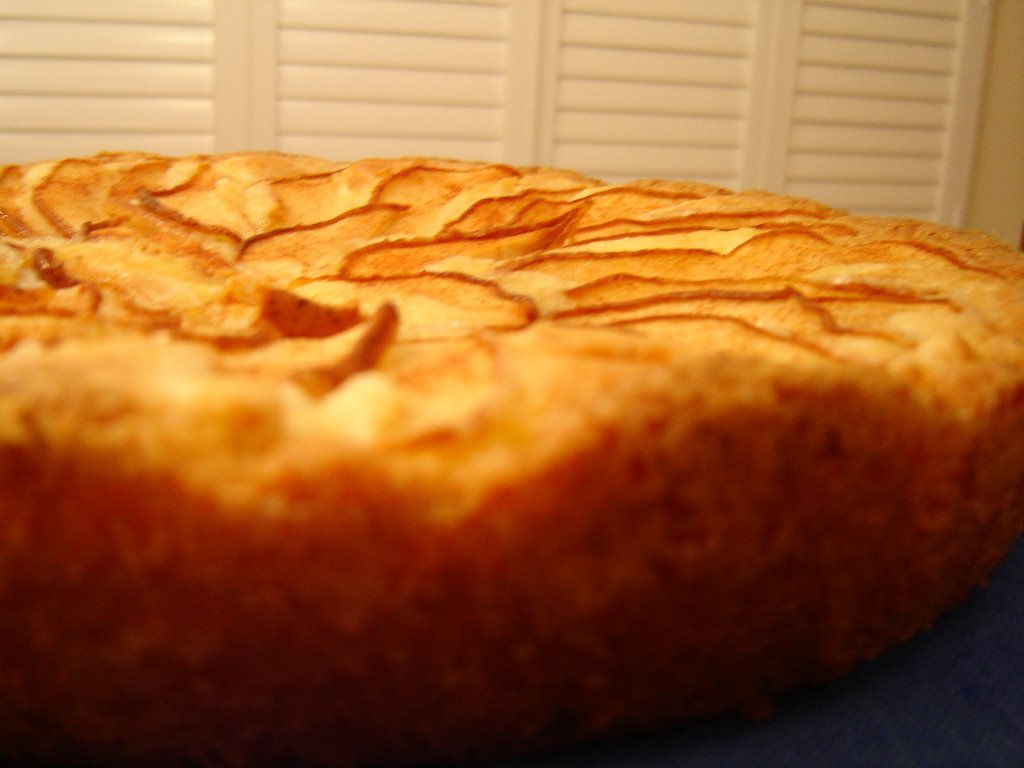
What is the difference between a cake and a torte? Here's what I found out:
 I made the Aunt Daisy's Fresh Fruit Torte from the Magnolia Bakery Cookbook and the main similarity it had to the above definitions was that it used a small amount of flour as compared to a regular cake. The batter was stiff, but spreadable, and no liquid was added in. The recipe did call for baking powder but no nuts. Did I really end up making a torte? Hmmm, well I think that 'torte' is used in the title because the cake is one layer and it does not rise as much as a plain cake. It came out moist, had a tender crumb and tasted fantastic - just like it came from a bakery. I used unpeeled Bartlett pears for the top and sprinkled it with cinnamon sugar. This torte is easily made in less than 30 minutes (not including baking time) and if there are no pears around, apples work just as well.
 Making quick breads is one of the easiest ways to get baked goods on the table with a minimum of effort. Last night I made toasted coconut bread from a tried and true recipe that I've had for years. It comes from Joie Warner's All the Best Muffins and Quick Breads which I picked up at the World's Biggest Bookstore in Toronto. Warner writes, "Reminiscent of macaroons, this delectable bread is wonderful with tea or curry dinners."
 What do you make when you have oranges and white chocolate chips? Orange Vanilla Chip cookies of course. Unfortunately, I don't have vanilla chips but the recipe I used said it was fine to substitute white ones. (If anyone knows where to get vanilla chips in the GTA, please let me know)
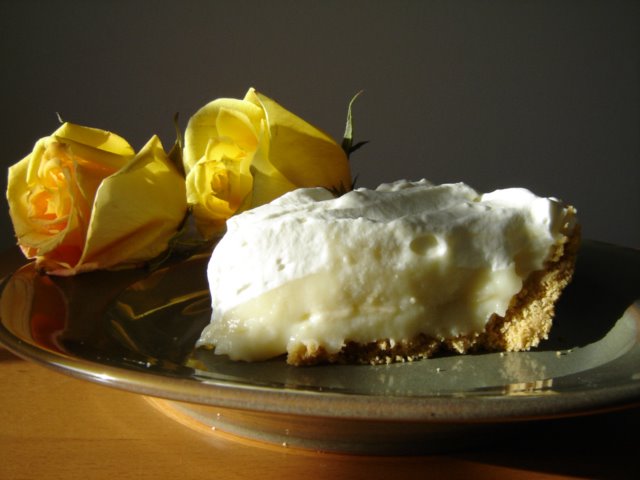 For this month’s SHF, stimulating desserts were the topic of choice. Well, considering Valentine’s Day is less than a week away, creating a passionate confection seemed very timely and I got to it. The most obvious aphrodisiac connected to sweets is chocolate so I thought I would travel down a different road and make a classic Banana Cream Pie.
At first thought, bananas would not come to mind as an aphrodisiac. I searched the Internet and found some interesting facts about this common yellow fruit and why it would be suited for a Valentine’s Day dessert.
1. The banana flower has a marvelous phallic shape and is partially responsible for popularity of the banana as an aphrodisiac food. An Islamic myth tells the tale that after Adam and Eve succumbed to the "Apple" they started covering their "nudity" with banana leaves rather than fig. From a more practical standpoint bananas are rich in potassium and B vitamins, necessities for sex hormone production.
2. Due not only to its shape, but also its creamy, lush texture, some studies show its enzyme bromelain enhances male performance.
The recipe I made came from the Clueless Baker and, although there were multiple steps and long cooling times, the pie was incredibly easy to make and assemble. The stovetop custard set up nicely in about 8 minutes. The only problem I had was trying to cut a decent piece for my picture.
The custard was creamy and thick with sliced bananas in the middle letting their subtle flavour infuse the pie. It was all topped of with fresh whipped cream (who doesn’t love whipped cream) and encased in a homemade graham cracker crust.
If you would like to try out the recipe, you can find it here.
Also, thanks to Jennifer at Taste Everything Once for hosting SHF this month.
 Last night I felt like making cake. Just a simple coffee cake that could be made and baked in less than two hours. I looked in a couple of my books and found the perfect recipe in The Clueless Baker called Overnight Buttermilk Coffee Cake. It is called 'overnight' because the cake is able to be assembled the night before and baked in the morning in time for breakfast. I didn't wait until the next day and baked it immediately.
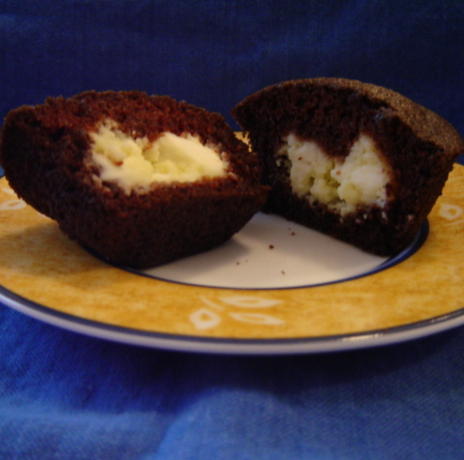 I had half a block of cream cheese left over from a previous dessert and I wanted to make something quick and simple for some friends I had over. I decided on Fudgy Cheesecake Cupcakes since the chocolate cake recipe is almost the same as 'Mix in the Pan' chocolate cake. This usually means that everything can be mixed in one bowl. Another feature of this cake recipe is that eggs are not required. (Except one yolk in the cream cheese mixture) It is similar to the recipe for Eggless Chocolate Cake posted on the Bakingsheet blog.
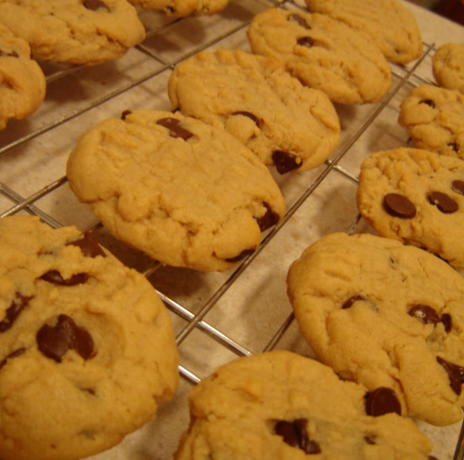 One of the quickest cookies for me to make up are peanut butter cookies. I usually have all the ingredients on hand and they are made as a simple drop cookie which means there is no fussy shaping involved. However, if you want them to be uniform in shape and size, a little rolling will be needed to achieve the desired results.
 One ingredient that is almost always present when we bake is flour. This white powdery substance is the backbone of most recipes and comes in many different forms. In this post I will list the most prominently used flours used for baking as well as some wheat-free alternatives.
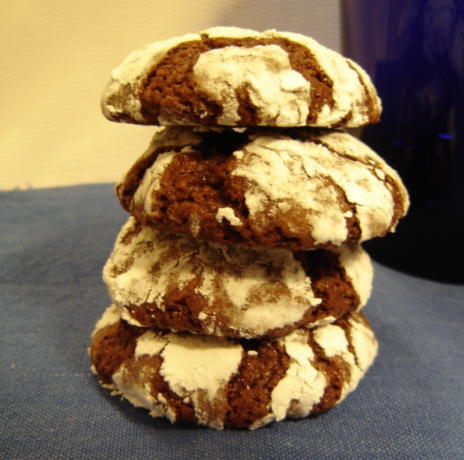 When you're in the mood for a simple chocolate cookie, Chocolate Crinkles will hit the spot. I was requested to make a 'plain chocolate cookie' the other day and decided to try them out. The one main difference between these cookies and others is that they are made with oil. I wondered why this was and looked around for some information and read that sugar does not fully dissolve in oil so the cookie texture remains sugary. Well, the cookies were indeed sweet, but not granular. I also came across a post on Simply Recipes that says oil makes a wonderful substitute for butter and also includes a Oatmeal
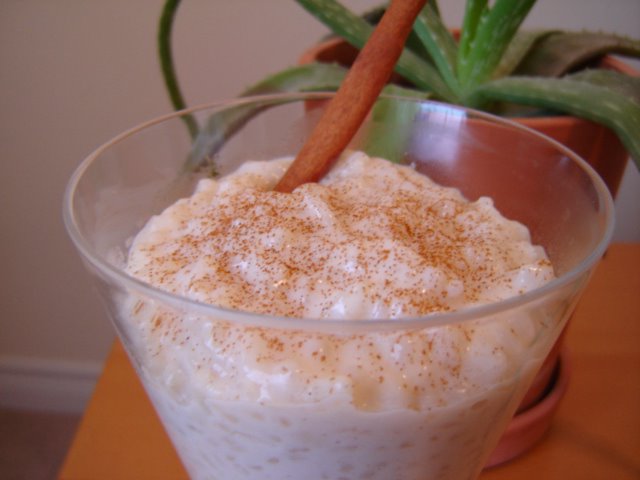 Today it's overcast here in Ontario so I thought I'd make something warm and comforting. The first thing that popped into my head was rice pudding. Fantastic! Not only is it easy and quick to make, it made me happy just to think that I'd be having some creamy rice goodness in the near future. My method of making rice pudding is stovetop. I know there are numerous recipes for ovenbaked pudding as well and once I get my hands on one that I like I'll give it a try.
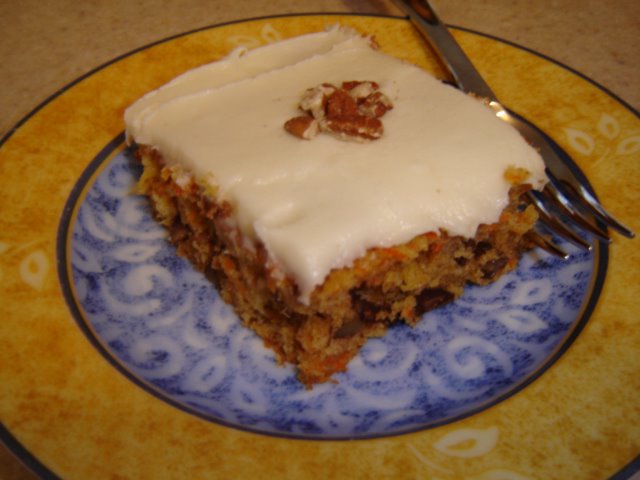 Yesterday Elizabeth hosted a gathering at her home for about 50 people. She asked me to make carrot cake since it can feed a large crowd of people. I said no problem and made a the Toll House Carrot Cake from the Treasury of Desserts. The recipe is very easy to prepare and uses all the traditional ingredients including pineapple, nuts and, of course, carrots. There are no raisins in this cake but the recipe did call for chocolate chips which I happily added. From start to finish, the cake took about 1 hour to mix up and bake. It came out very moist and not overly sweet. I did, however, get one request to leave out the chocolate chips next time because it was too sweet. Since I am constantly looking to improve my baking, I asked my sister if she thought this as well and was met with a look of incredulity. The cake was just fine and the cream cheese icing (also from Treasury of Desserts) was complementary. Looking at the 3/4 empty tray I'd say most people agreed with her and thought it was tasty. I will absolutely make this crowd-pleasing cake again and be sure to check out more Toll House recipes at Very Best Baking.
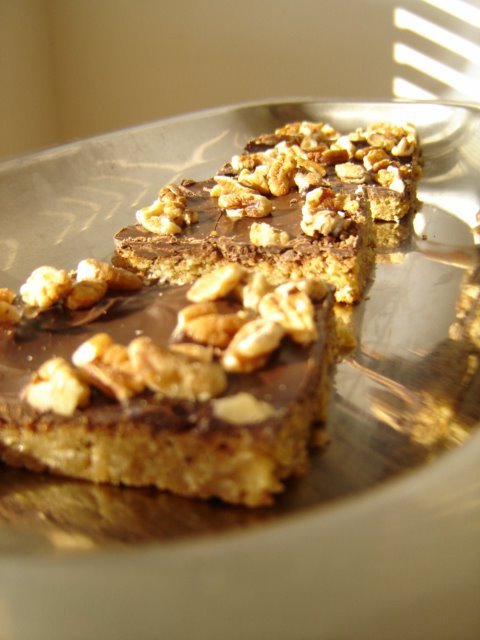 Last night my sister had some friends over for a girl party. We had all the requisite 'party food' laid out and I decided to make some squares for the occasion. I wanted to make something easy and with chocolate so I consulted my cookbooks and settled on Toffee Bars from Wanda's Pie in the Sky. I bought this book on a whim at a mall booksale a couple years ago. I had vaguely heard of Wanda and after doing the cursory look-through I was sold. (I also really liked the font she used in her book.) Little did I know then that this book would be as useful as it has been. I am now not fazed at making pie crust, although I still do the occasional patch job and her Triple Chunk Cookies are amazing. Back to the toffe bars though, they were simple to make with a wooden spoon - no mixer needed. The crust had the consistency of oatmeal cookie dough and once it was baked all I had to do was melt some semi-sweet chocolate, spread it over the cooled bars and add a sprinkling of pecans and voila, yummy, chewy squares in about an hour. The girls liked them a lot and they tasted even better the next day with some tea for breakfast.
 This is my first ever SHF (Sugar High Friday) entry. I just started blogging this month and was excited to find a great online community of people who were enthusiastic about all things baked as much as I am. I thought that finding a non-sugar dessert recipe would be an easy task but the more I looked, the harder and more frustrating it got. My cookbooks were not helpful so I turned to the Internet to try and strike gold. My first search of 'sugarless dessert recipes' returned a lot of results but substituted Splenda for sugar. Though I'm not adverse to using Splenda, I don't have any in my cupboard and I really wanted to find something that was naturally sweetened. My next search was simply 'honey' and this is where I found the recipe I'm submitting today. I found a website for the National Honey Board and found that they had a good collection of honey recipes. The one I chose is called Honey Raisin Scones which, not surprisingly, uses honey as a sweetener. The recipe was easy to follow and execute and took less than 30 minutes to have in the oven. It's not glamourous but goes well with a cup of tea or cappuccino. The scones came out light and flaky, not rock hard and dense as some store-bought scones can be. I would definitely make them again - they are just as good as their sugar-scone counterparts.